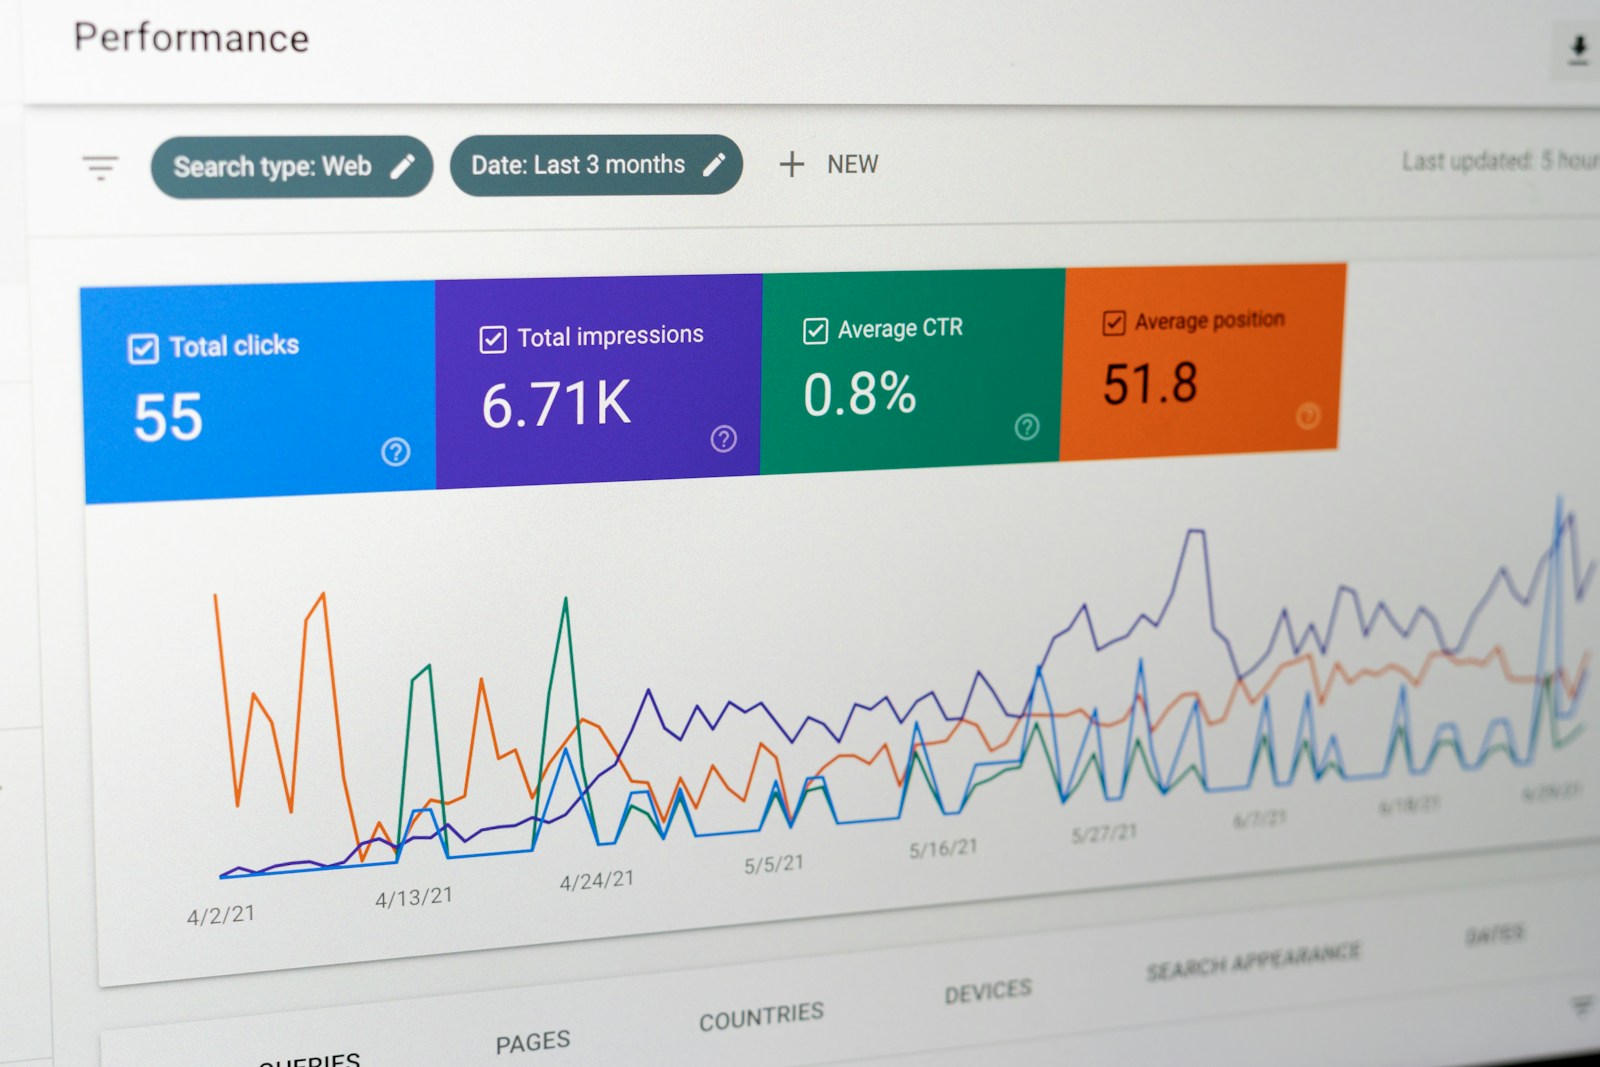
Google Analytics 4 (GA4) is the latest version of Google’s powerful web analytics platform. It offers advanced insights into user behavior, cross-platform tracking, and improved privacy features. Adding GA4 to your website helps you understand visitor interactions, optimize marketing efforts, and grow your online presence. This full tutorial walks you through how to set up GA4 on your website step-by-step.
Add Google Analytics to Your Website
Step 1: Create a Google Analytics 4 Property
- Sign in to your Google Analytics account at analytics.google.com.
- Click on Admin (gear icon at the bottom left).
- In the Account column, select your existing account or create a new one.
- In the Property column, click Create Property.
- Enter your website name, time zone, and currency, then click Next.
- Choose your business details and click Create.
This creates a new GA4 property that will collect data for your site.
Step 2: Set Up a Data Stream
- After creating the property, you will be prompted to set up a data stream.
- Select Web as the platform.
- Enter your website URL and stream name, then click Create Stream.
GA4 will generate a Measurement ID starting with “G-”.
Step 3: Add the GA4 Tracking Code to Your Website
To start tracking, you need to add the GA4 tag to your website’s code.
Option 1: Manual Installation
Copy the provided Global Site Tag (gtag.js) code snippet from the Web stream details page.
Paste it inside the <head> section of every HTML page you want to track, just before the closing </head> tag.
Example:
<head> <!-- Other head elements --> <!-- Google Analytics --> <script async src="https://www.googletagmanager.com/gtag/js?id=G-XXXXXXXXXX"></script> <script> window.dataLayer = window.dataLayer || []; function gtag(){dataLayer.push(arguments);} gtag('js', new Date()); gtag('config', 'G-XXXXXXXXXX'); </script> </head>
Replace 'G-XXXXXXXXXX' with your actual Measurement ID.
Option 2: Using Google Tag Manager
If you use Google Tag Manager (GTM), create a new GA4 Configuration tag with your Measurement ID and publish the container.
Step 4: Verify the Tracking Is Working
After adding the tag, open your website in a new tab and go back to your GA4 dashboard.
Go to Reports > Realtime and check if your visit appears.
You can also use Chrome extensions like Google Tag Assistant or GA Debugger to verify the tag.
Step 5: Explore GA4 Features
GA4 offers features such as:
- Event-based tracking without manual code changes
- Cross-device and cross-platform reporting
- Enhanced data controls and privacy
- Custom reports and audience segmentation
Spend time exploring the Reports, Explore, and Configure sections to get the most out of GA4.
Final Thoughts
Adding Google Analytics 4 to your website is a crucial step to understanding your audience and improving your site’s performance. The setup process is straightforward, and GA4’s advanced features make it a powerful tool for webmasters and marketers alike.


